
Build your first Fine-tuned Model!
In this section you will train your first Fine-tuned Model.
In this exercise, we will focus on Propensity model which is a multi-label classification task.
Step 1 - Creating Downstream Task
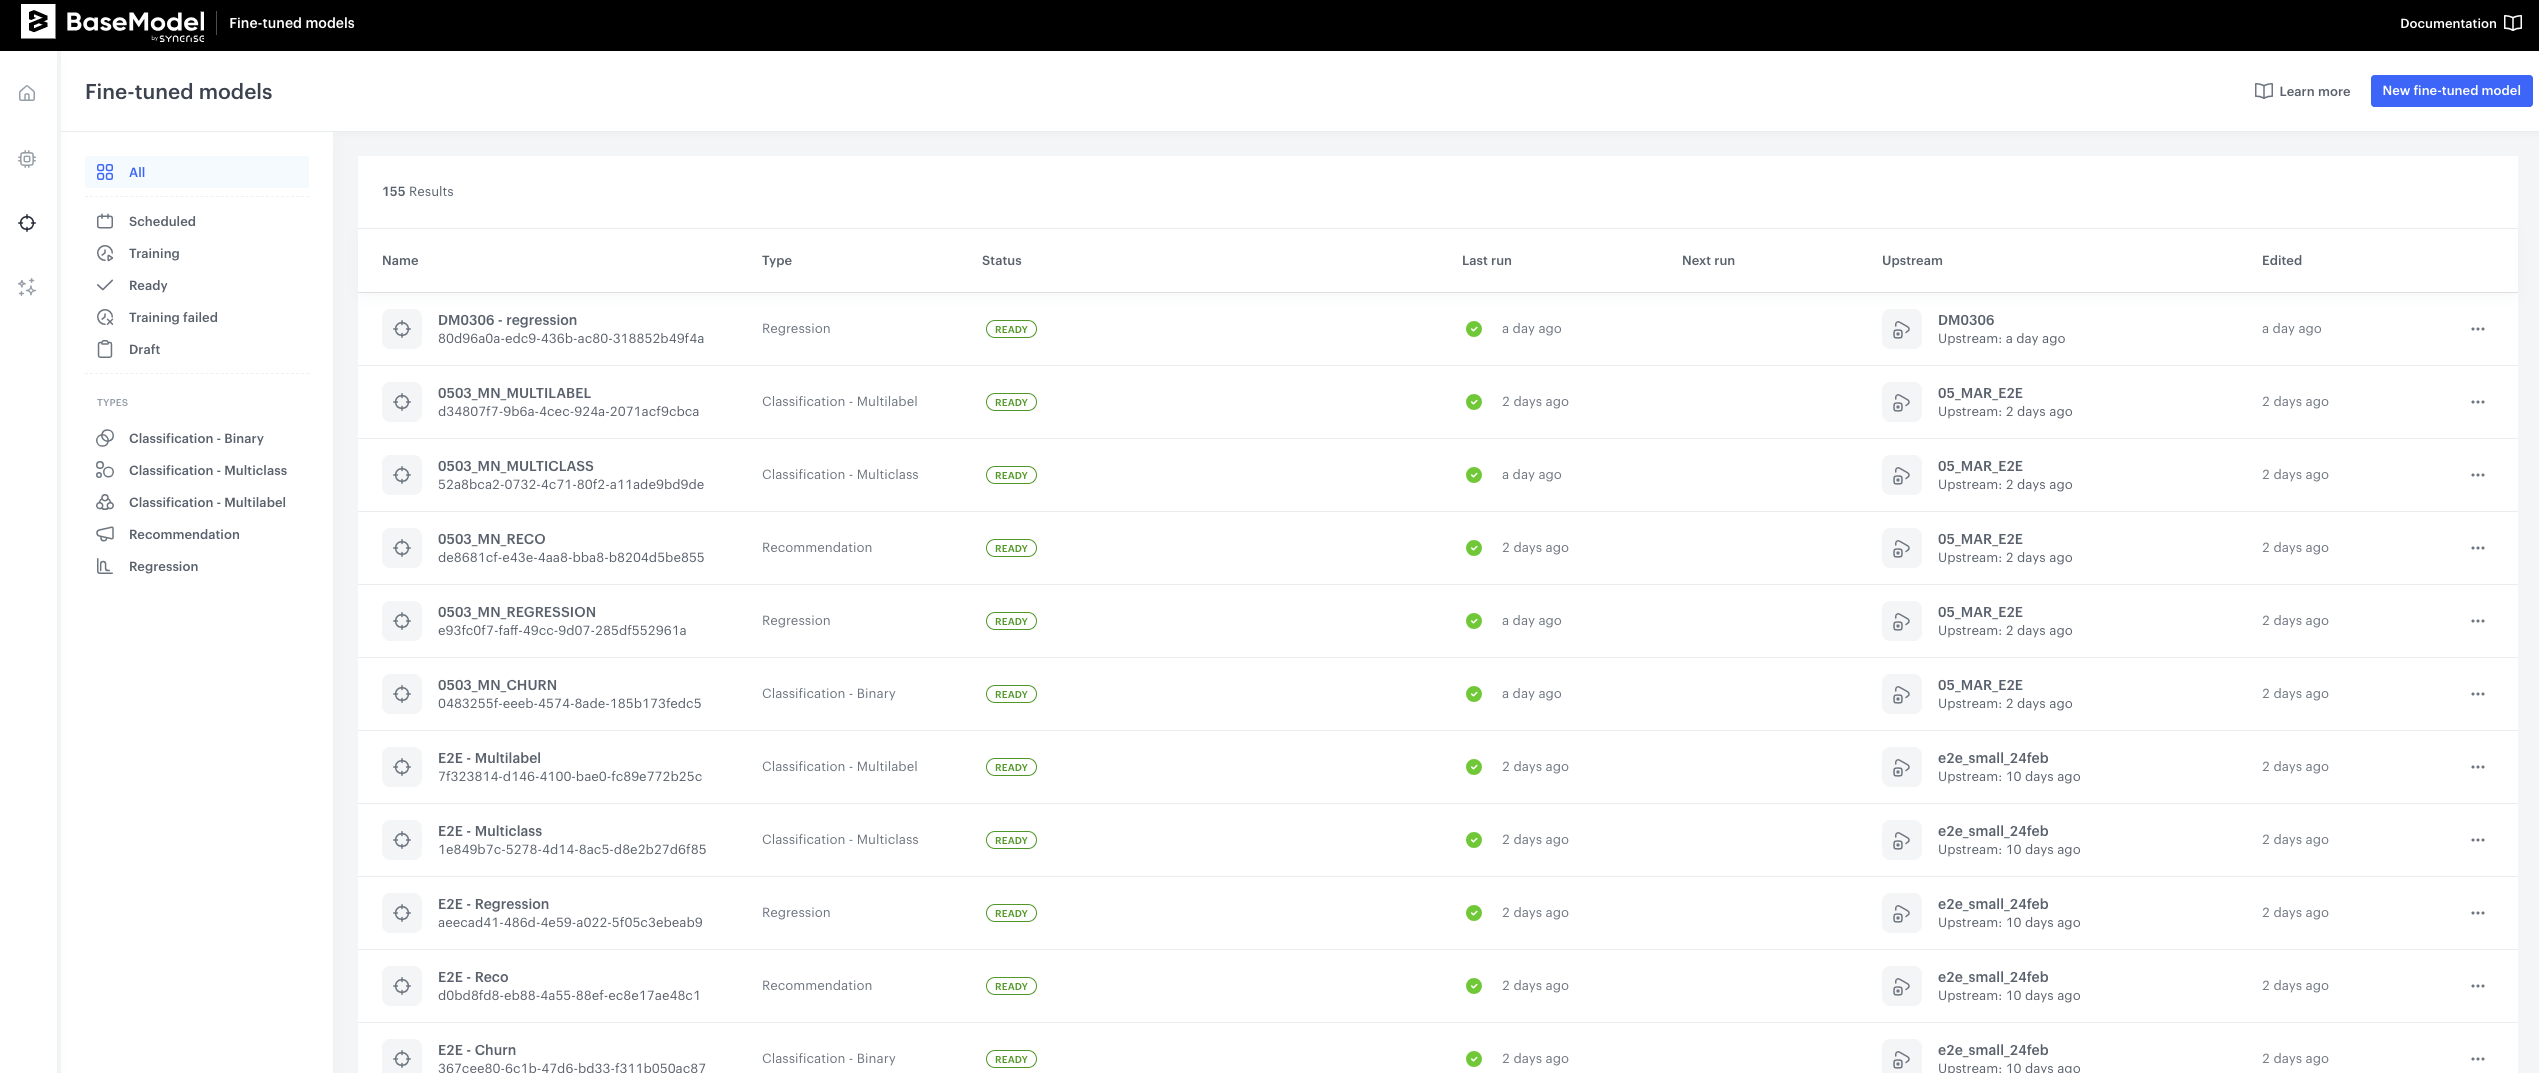
Once you navigate to Fine-tuned Models after you log into the BaseModel, you will see a listing of all models created so far. More details about this screen and navigation can be found here.
- Navigate to
New fine-tuned modelbutton on the upper right hand side corner, and click it. You will now see an interface with a few building blocks:- Foundation Model - where you will select the Foundation Model to use
- Target Function- where you will define what the model should predict
- Training Audience - where you will be able to limit the entities the model will be using for downstream task
- Training Schedule - where you will define when the training shall commence
Step 2 - Define Foundation Model
-
In the first block - Foundation Model, select the Foundation Model that you wish to use and Type of prediction task. Please refer to documentation for more information about types of prediction tasks.
-
Select
QuickstartFoundation model that we have trained in the previous step -
Select
Classification - Multilabelfrom drop down list. Your configuration should look like this: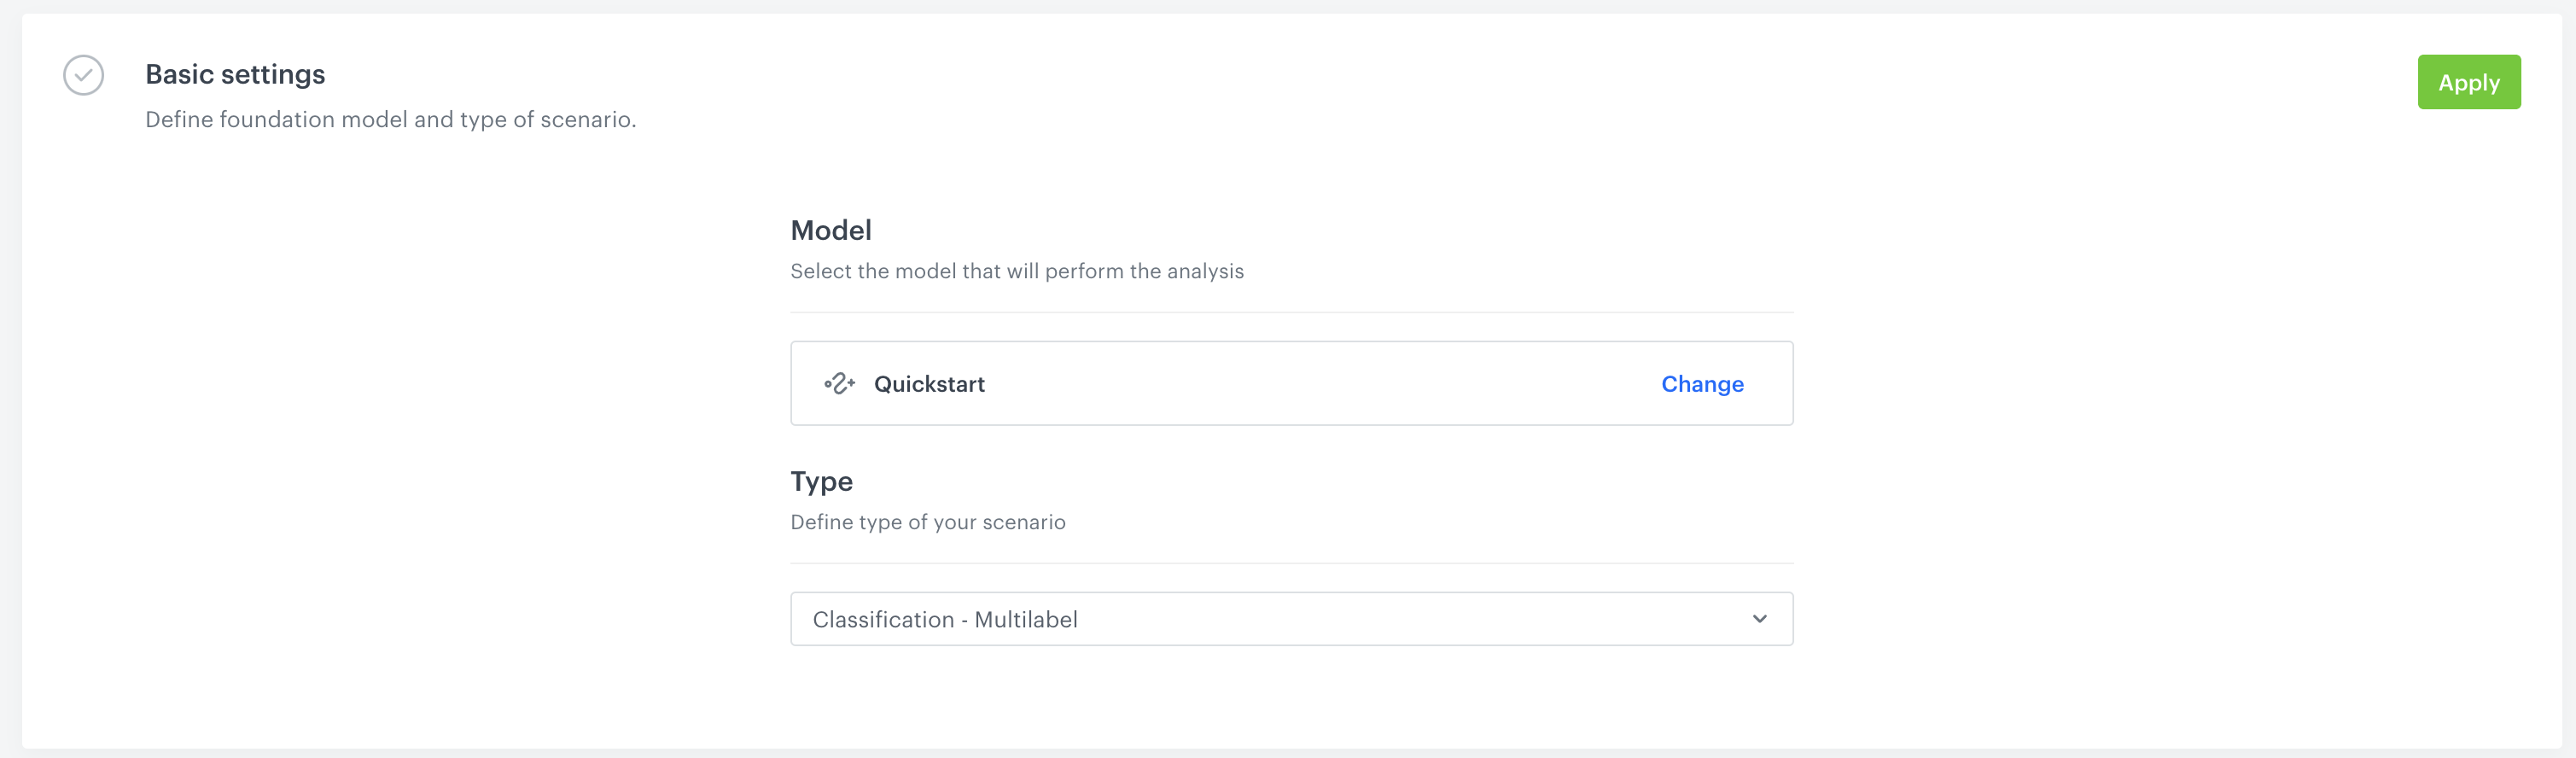
-
Click Apply in the upper right-hand side.
Step 3 - Prepare Target function
The next step is to prepare target function. This step is exactly the same as for the Docker version. There are 2 important resources for this section:
- Recipes - a collection of use cases of target functions with step-by-step explanation of each line of code
- Modeling Target function section from main documentation.
For the purpose of this exercise:
-
Copy-Paste the following code:
def favorite_category_target_fn(history: target_function.Events, future: target_function.Events, attributes: target_function.Attributes, ctx: Dict) -> np.ndarray: # trim the future to the desired target window target_window_days = 21 if target_function.has_incomplete_training_window(ctx, target_window_days): return None future = target_function.next_n_days(future, ctx[target_function.SPLIT_TIMESTAMP], target_window_days) TARGET_NAMES = [ "Garment Upper body", "Garment Lower body", "Garment Full body", "Accessories", "Underwear", "Shoes", "Swimwear", "Socks & Tights", "Nightwear", ] TARGET_ENTITY = target_function.get_qualified_column_name(column_name="product_group_name", data_sources_path=["Ar"]) purchase_target, _ = future["Tr"].groupBy(TARGET_ENTITY).exists(groups=TARGET_NAMES) return purchase_target -
Click
Apply
Step 4 - Define Audience and Schedule
Next we can refine the audience in the Audience filter block - for this tutorial we skip this option as we want to train our model on all existing data.
- Finally we need to define schedule. Let's select
One-time trainingandStart immediatelyin the options and then clickApply - Now you are ready to hit
Run Modelbutton and start training your first Fine-tuned Model!
You are now ready to generate the predictions, please move to the next section for that.